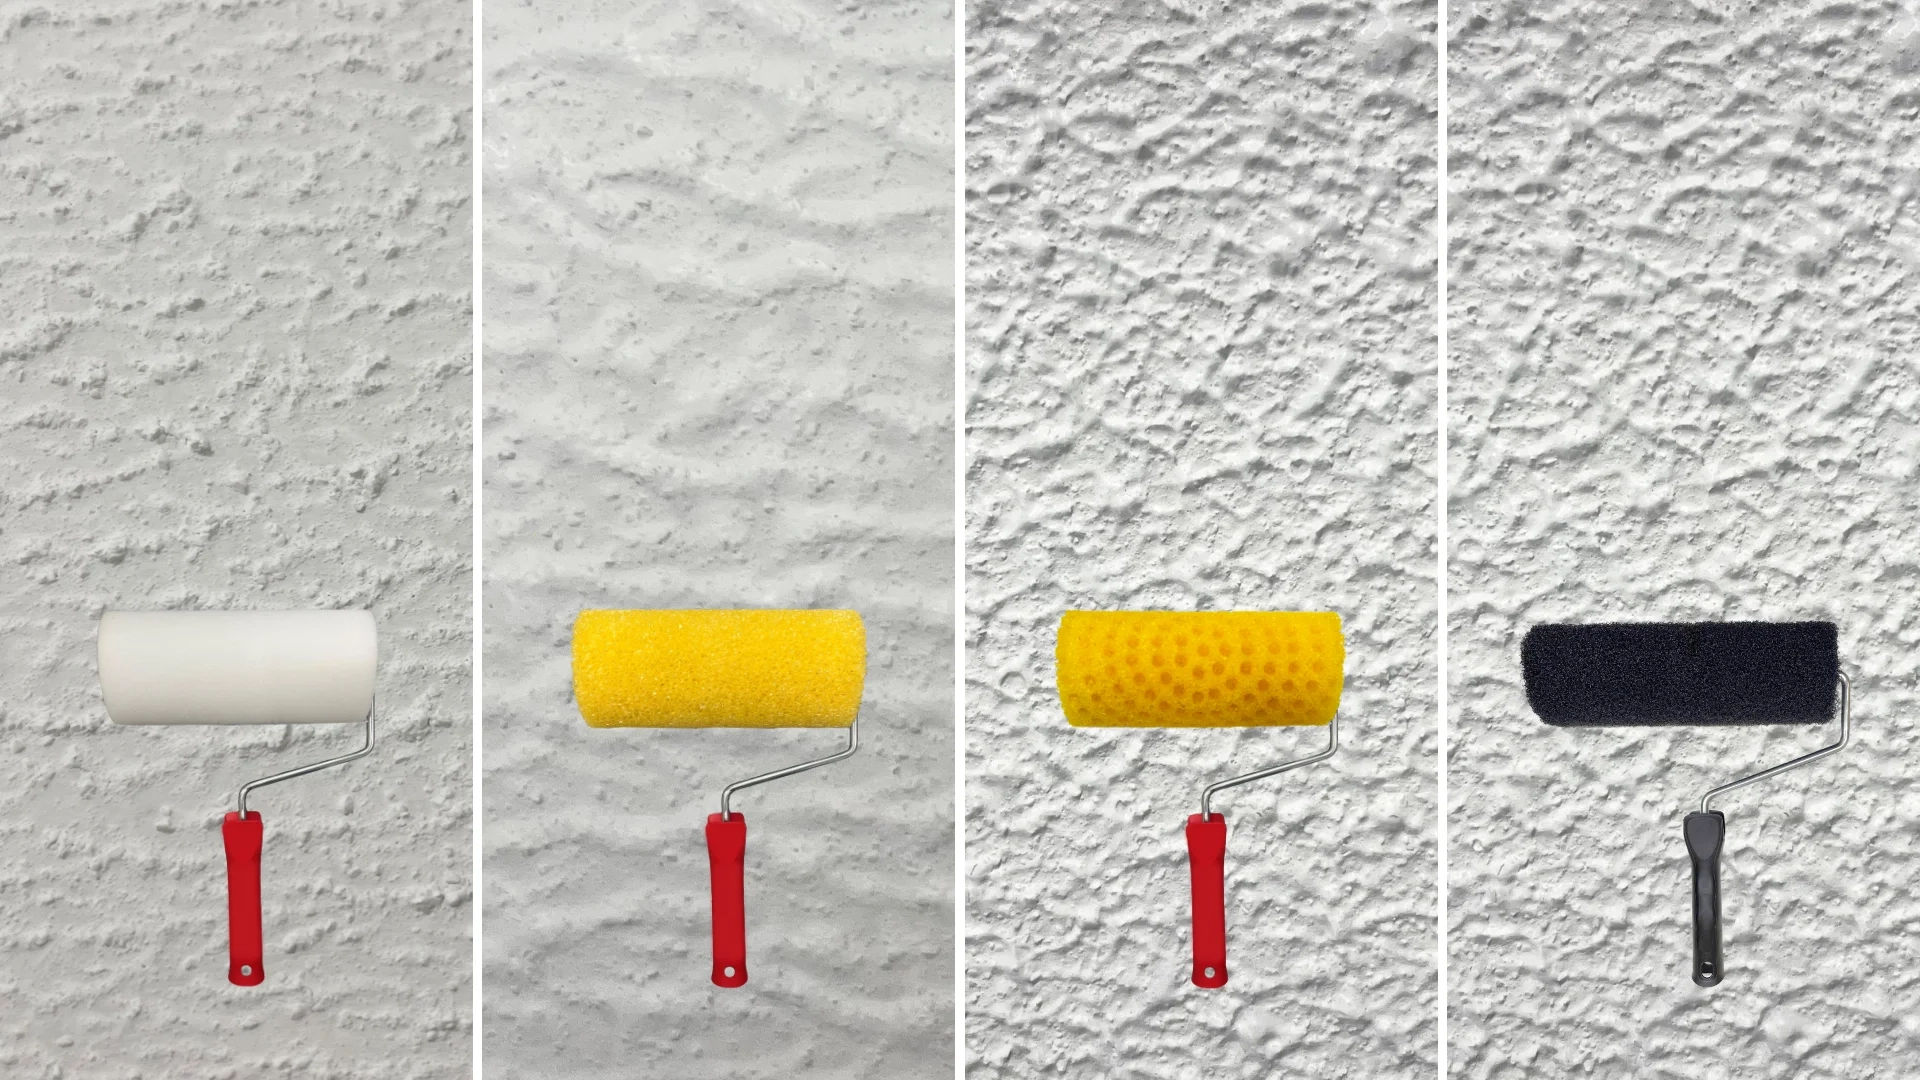
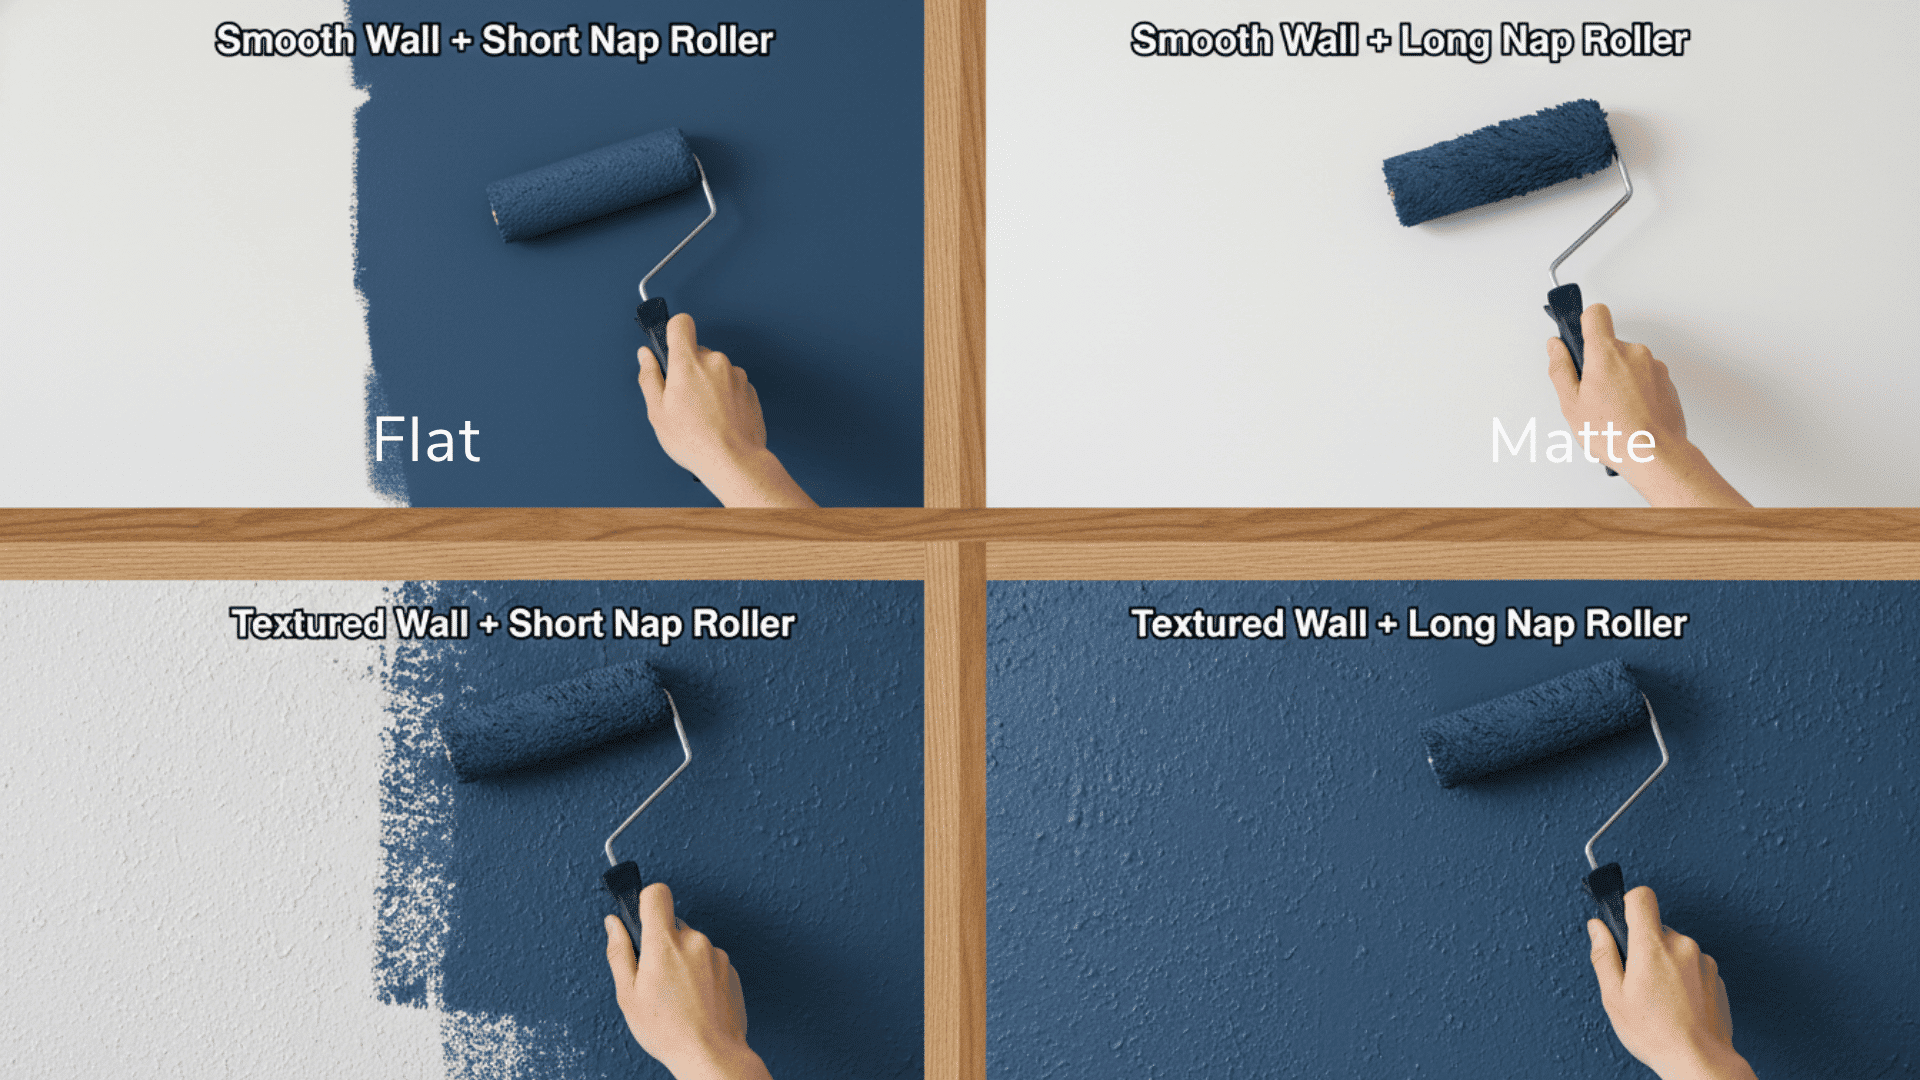
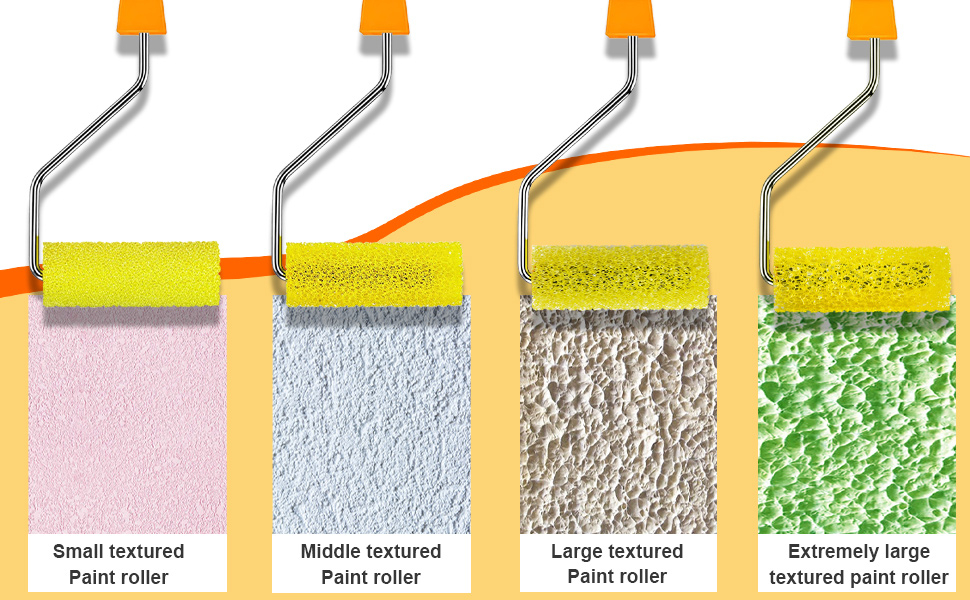
A paint roller cover should match the wall you have, rather than the smooth wall you wish you had. A short nap may leave the low spots of a textured wall untouched. A very deep pile can be an awkward choice for a smooth bedroom wall. Before buying supplies, separate three decisions: the surface texture, the coating’s application requirements, and the width that you can control comfortably.
This guide focuses on selecting a cover for interior walls in a US home, with measurements in inches. It does not promise a spray finish from a roller or treat every paint as interchangeable. Start with the paint manufacturer’s label or product data sheet, then use the surface guidance below to narrow your choices.
Read nap length and roller width as different measurements
The nap is the depth of the fibers around the cover. Width is the distance across the roller. A package marked 9 inches by 3/8 inch describes a wide wall roller with a relatively short pile, not two alternative sizes of the same dimension. Write both measurements on your shopping list so that a small finishing roller does not replace the wall cover you intended to buy.
In its brush and roller selection guide, Sherwin-Williams describes 9 inches as a standard roller length. It also identifies smaller 4-inch and 7-inch covers and larger 14-inch and 18-inch options. A wider tool is not automatically better for a small room: think about tray size, furniture clearance, and whether you can keep the cover controlled around corners.
Match the pile to the existing surface texture
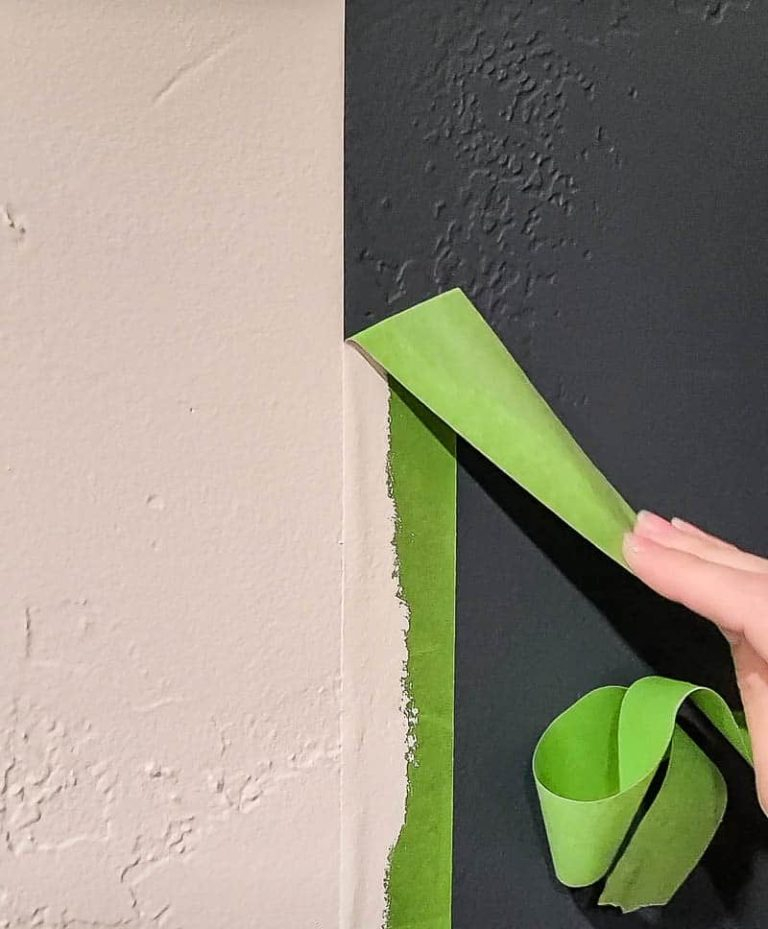
Look across the wall with light coming from the side. Compare an open section with the area beside a switch plate or near a corner. Is the surface nearly flat, lightly stippled, or deeply patterned? A repaired patch may be smoother than the surrounding wall, so inspect more than one spot. The word drywall alone does not tell you how much texture is on its painted face.
Sherwin-Williams gives the following starting points for its general roller guidance. These are surface categories, not a replacement for instructions supplied with a specific coating:
- Very smooth surfaces: 3/16-inch or 1/4-inch nap, with metal doors and plaster given as examples.
- Smooth and semi-smooth surfaces: 3/8-inch or 1/2-inch nap, including drywall.
- Semi-rough surfaces: 3/4-inch nap, with wood and textured ceilings given as examples.
- Rough surfaces: 1-inch or 1 1/4-inch nap, including stucco and heavily textured ceilings.
- Extremely rough surfaces: 1 1/2-inch nap, with concrete block given as an example.
For an ordinary painted wall, that list helps you ask a useful question at the store: does this particular finish behave more like a smooth or a semi-smooth surface? It does not mean every indoor wall needs the same cover. Photograph the texture and bring the exact paint name when asking for a recommendation.
Check the paint before choosing the fiber
Nap depth is only part of the purchase. The fiber must also suit the coating. Sherwin-Williams identifies synthetic nylon/polyester covers as suitable for latex paints, natural fibers such as mohair and lambswool for oil-based coatings, and blended natural/synthetic covers as multipurpose options. Individual products can have their own approved uses, so read the cover packaging rather than judging compatibility by its appearance.
Record the coating type, product name, sheen, and recommended applicator from the paint instructions. If a specialist wall coating specifies a certain cover, follow that guidance instead of substituting the nearest generic chart entry. Likewise, a recommendation for a cabinet enamel does not automatically apply to a bedroom wall. Different jobs ask different things of the same-looking tool.
Use a small trial to compare the finish
Suppose you have a lightly textured wall and two covers that the paint and tool instructions both permit. A useful trial compares them under the same conditions. Prepare a modest test area as the coating requires, use the same paint, and identify which section received which cover. Keep a note of the product and nap so that the comparison remains useful after the packages are discarded.
Allow the trial to dry for the time stated by the paint maker before judging it. Inspect both the overall appearance and the little recesses of the wall texture. If one section looks different, consider paint loading, wall preparation, and application technique as well as the cover. A trial can reveal a poor match; it cannot isolate every cause when several variables changed together.
Do not treat extra pressure as proof that a short nap is working. If you struggle to reach the texture evenly, pause and review the applicator recommendation. Similarly, selecting a deeper pile is not a method for leveling an already uneven wall. The goal is a compatible tool for the existing surface, with an appearance you accept after the trial dries.
Inspect cover quality and frame fit before starting
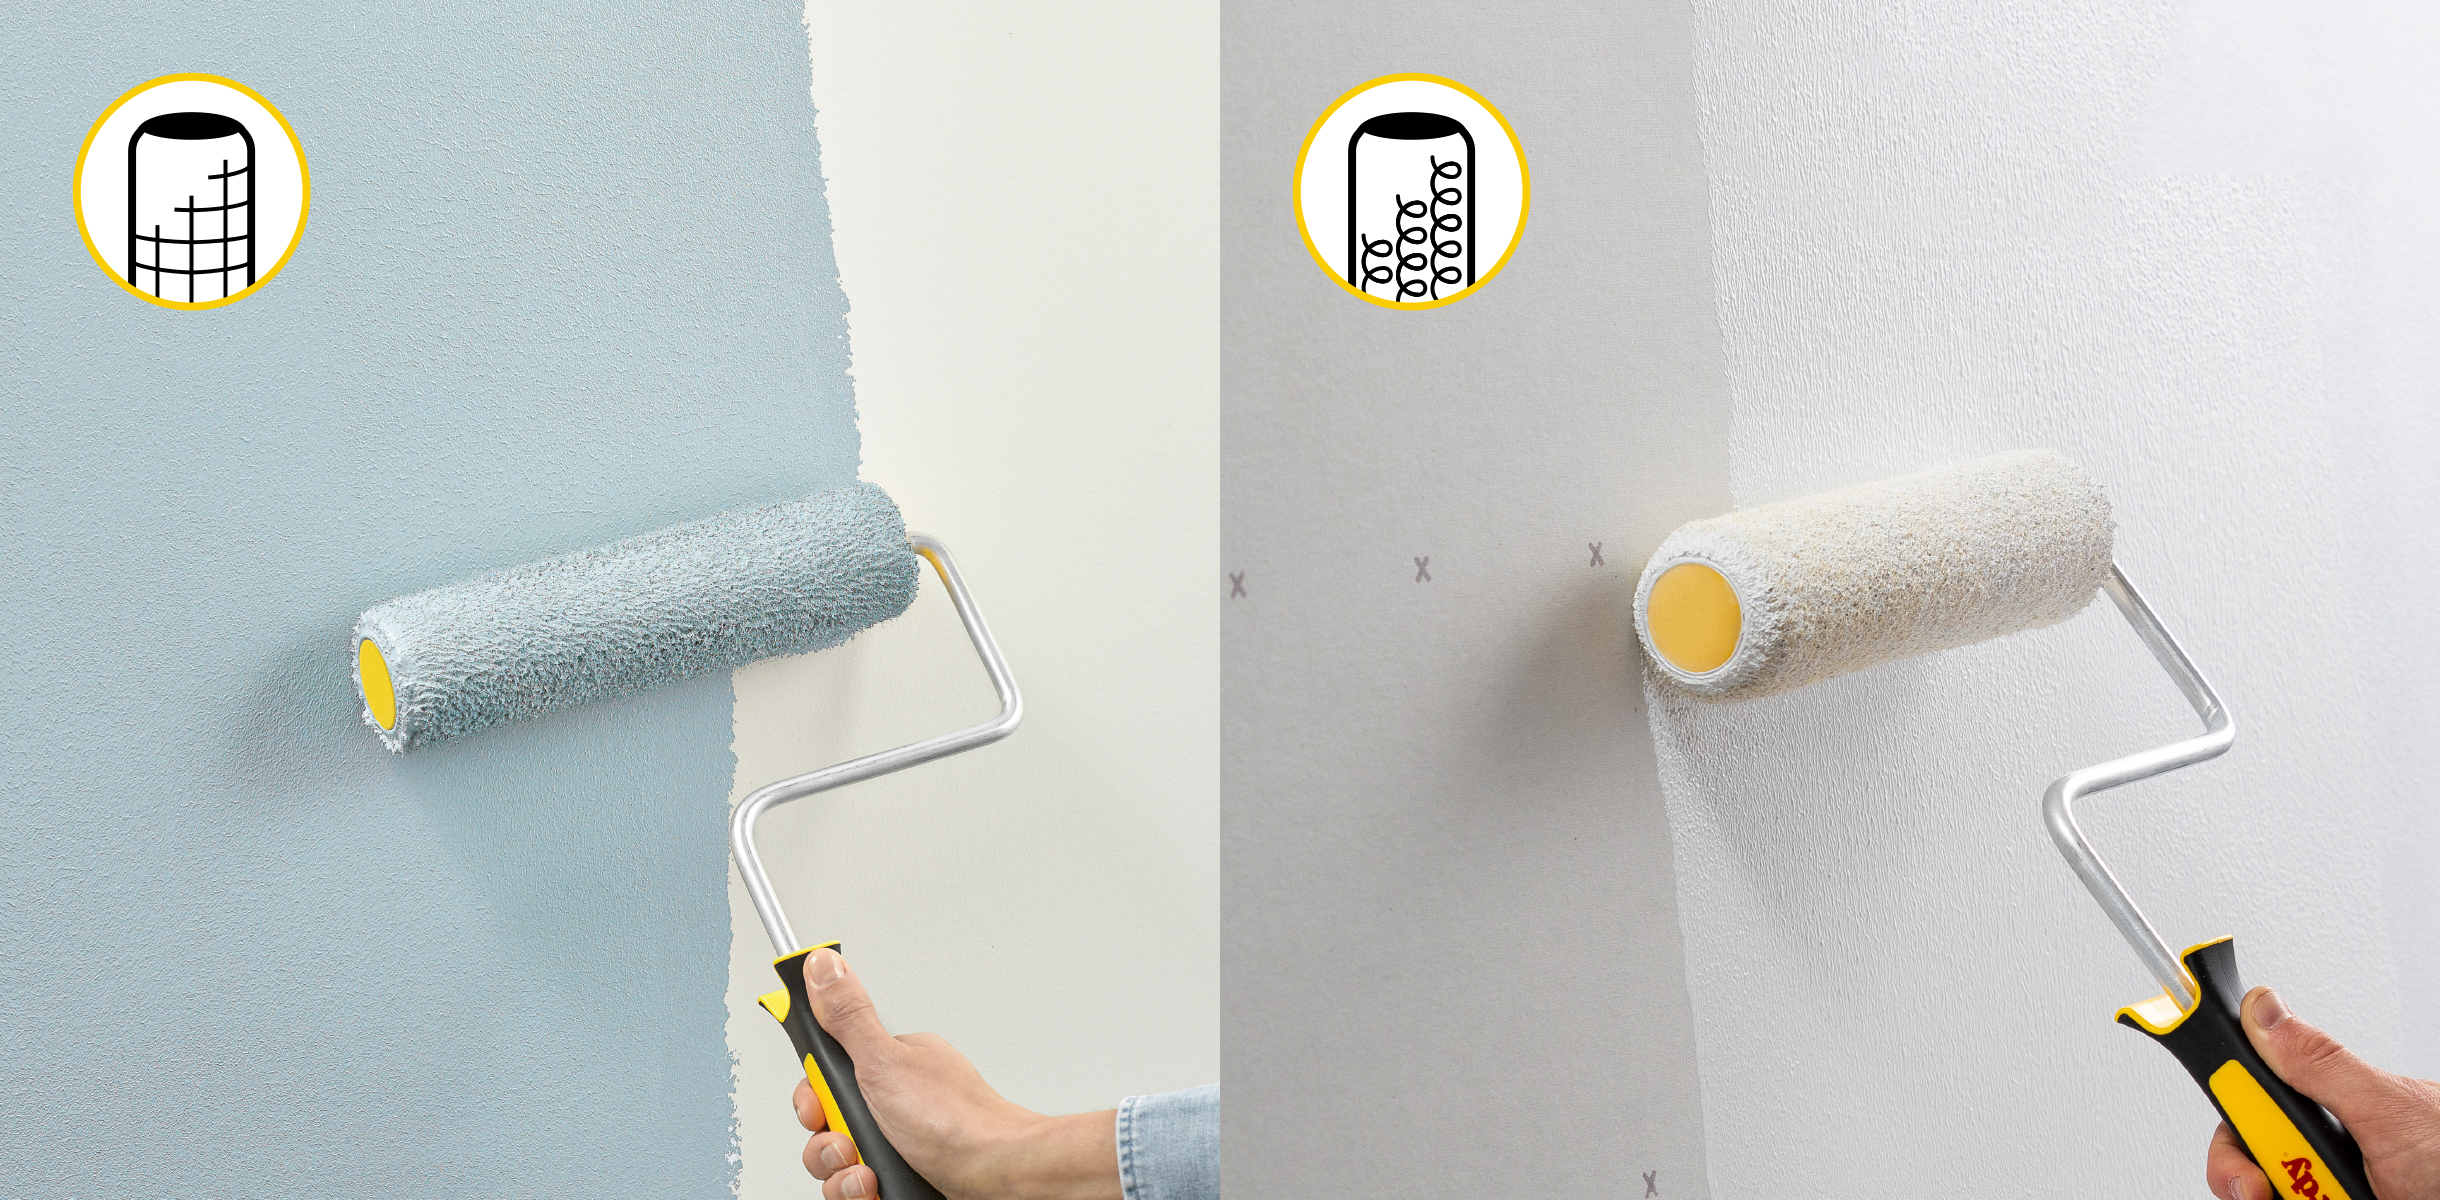
The manufacturer’s selection guide warns that lower-quality covers may leave streaks or fibers in the finish. Check the package for the stated application and inspect a new cover for visible damage or loose material. Follow its preparation instructions. There is no single cleaning or pre-wetting procedure that should override the directions for every fiber and coating combination.
Also check the frame and cover as a pair. Confirm that the cover fits securely and turns as intended, and that your tray accommodates its width. If you plan to use a smaller roller beside trim, compare the finish in your trial area before assuming that its surface texture will blend with the larger cover. Matching a nominal nap measurement is only one part of that check.
Save the specification for the next room
Keep a simple project record: paint name and sheen, wall texture, cover brand and fiber, nap depth, and width. A photograph of the package is often easier to retain than a paint-covered sleeve. Note whether you liked the dry finish, rather than recording only how quickly the roller covered the wall while wet.
Once the cover is selected, plan the rest of the work separately. Our guide to the order for painting ceilings, walls, and trim discusses sequencing a room; this guide addresses the applicator purchase. Choosing a nap and planning a painting sequence solve related but different problems.
Take the surface photograph, coating instructions, and your successful trial notes to the store. Those details make the next purchase repeatable and give you a better starting point than buying whichever roller looks softest or carries the broadest promise on the shelf.