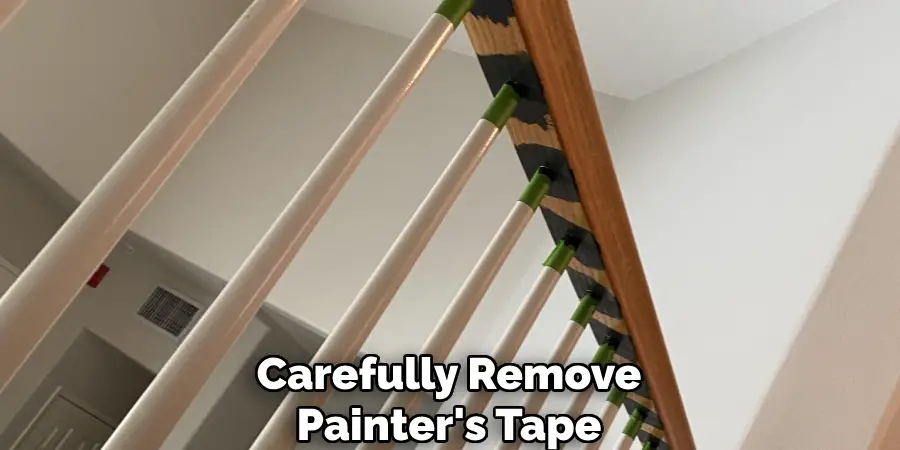
Remove painter’s tape slowly, following the instructions for the exact tape and paint you used. Watch the edge as you pull, and pause if a dried paint film connects the tape to the newly painted surface. That connection may need to be separated before removal can continue cleanly.
For FrogTape, the manufacturer’s guide recommends removal while the paint is still wet, with a slow pull at a 45-degree angle. It also explains how to handle a dried paint bridge. Those product instructions provide the basis for the sequence below. Check your own package before applying the timing to another tape. [3]
Read the removal instructions before the final coat
Keep the tape package and paint can nearby. Look up the tape’s removal method, suitable surfaces, and clean-removal window, then check the paint manufacturer’s application and drying directions. Plan enough time to finish a manageable section and remove the tape according to those instructions.
FrogTape describes its clean-removal days as the time a tape can remain on the surface before painting. That figure and the guidance for pulling tape after painting answer different timing questions. Read both when planning the job. Record when you applied the tape if the work will span several days. [3]
For several coats, work from the directions for your actual products. Keep track of recoat times and inspect the tape edge between coats. A calendar reminder or a note on the package helps you avoid losing track of masking that remains around a window, baseboard, or door casing.
Check the starting edge and clear the work area
Put a trash bag within reach and protect the area below the tape. Move the paint tray and tools out of your pulling path. At a corner or another accessible end, lift just enough tape to hold it securely. Keep the loose tail under control so wet residue stays away from finished walls and floors.
Inspect the first short section as it separates. Look for a continuous painted edge, material lifting beneath the adhesive, or a stretched film between tape and wall. These observations help you decide whether the removal is proceeding cleanly or needs a pause.
Choose a comfortable working position that lets you see the edge closely. Reposition yourself along the wall as you go. Reaching across a long span makes the pull harder to control and can send a loose strip across fresh paint.
Pull slowly and keep the tape close to the surface
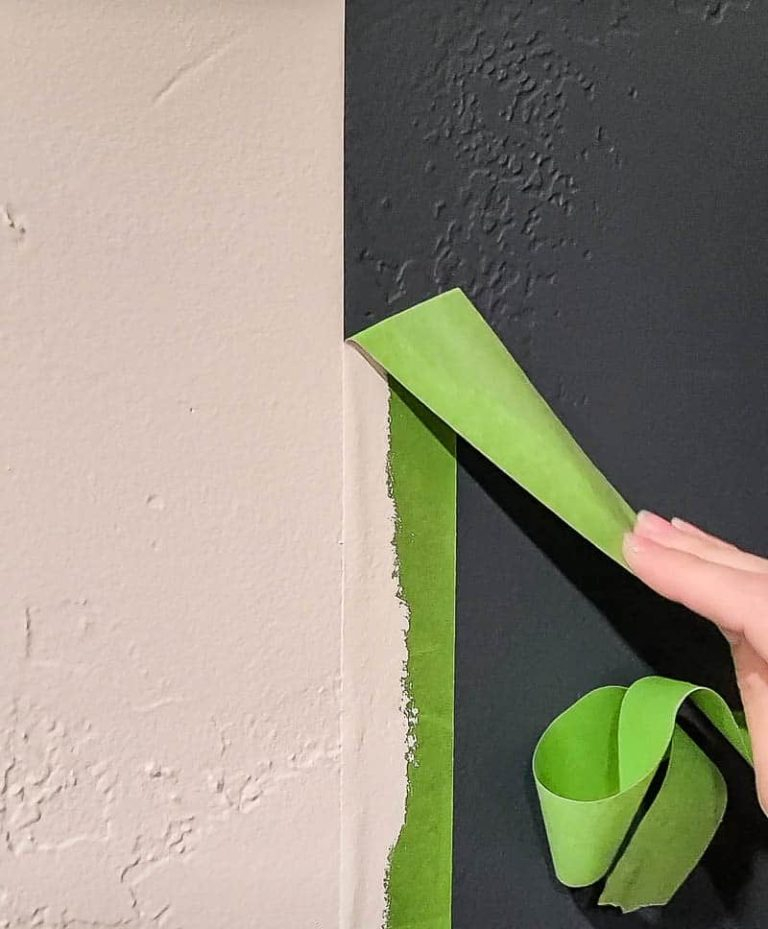
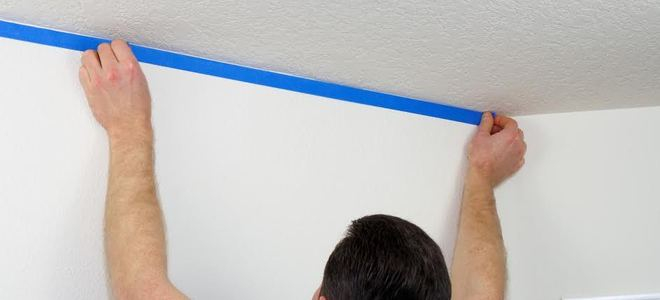
FrogTape recommends a slow pull at a 45-degree angle, keeping the tape close and parallel to the surface. Its guide warns against lifting the strip straight outward from the wall. Start with a short section so you can see how the painted edge responds. [3]
Move steadily and keep your hand near the point where the adhesive is releasing. Gather the loose tape as it comes away, taking care around wet paint. At a corner, pause and change your position before continuing along the next edge.
Listen as well as look. FrogTape says ripping sounds indicate that the pull is too fast. Slow down and inspect the edge before proceeding. Place removed tape directly into the trash, as the manufacturer recommends, to keep paint residue from transferring to another surface. [3]
Separate a dried paint bridge before continuing
If the paint has dried across the tape edge, the strip can pull against that connected film. FrogTape’s guidance is to score the edge with a razor blade when a dried bridge has formed. This step separates the film along the intended boundary. [3]
Pause removal and examine the connection in good light. If you can safely reach it, make a controlled, shallow pass along the tape edge to separate the paint film. Keep the cutting edge directed away from your body and protect the underlying surface. Use the tool according to its instructions.
Resume with a short, slow pull and check the result. If you cannot see or reach the edge safely, set the work aside until you have suitable access or help. This is especially relevant beside delicate wallpaper, thin veneer, or an awkward overhead corner where an uncontrolled cut could damage the finish.
Stop when the underlying finish starts lifting
A dried bridge at the new paint line and an older coating lifting beneath the tape call for separate observations. Look at where the damage begins. If the painted boundary stretches, inspect for a bridge. If flakes or layers come away from beneath the adhesive, pause and assess the surface condition before continuing.
FrogTape advises a hidden-area test before application and cautions that old paint which is peeling, bubbling, or thickly applied may be unsuitable for tape. That advice also helps explain why a careful removal technique can still reveal a surface problem. Examine a test area before committing to another long taped edge. [3]
Keep any touch-up work separate from the removal step. Photograph the affected area and identify the coating and substrate before choosing a repair. A wide damaged patch may need a different preparation process from a tiny uneven paint edge. Allow that assessment to guide the repair materials.
Prepare the next taped edge for a cleaner release
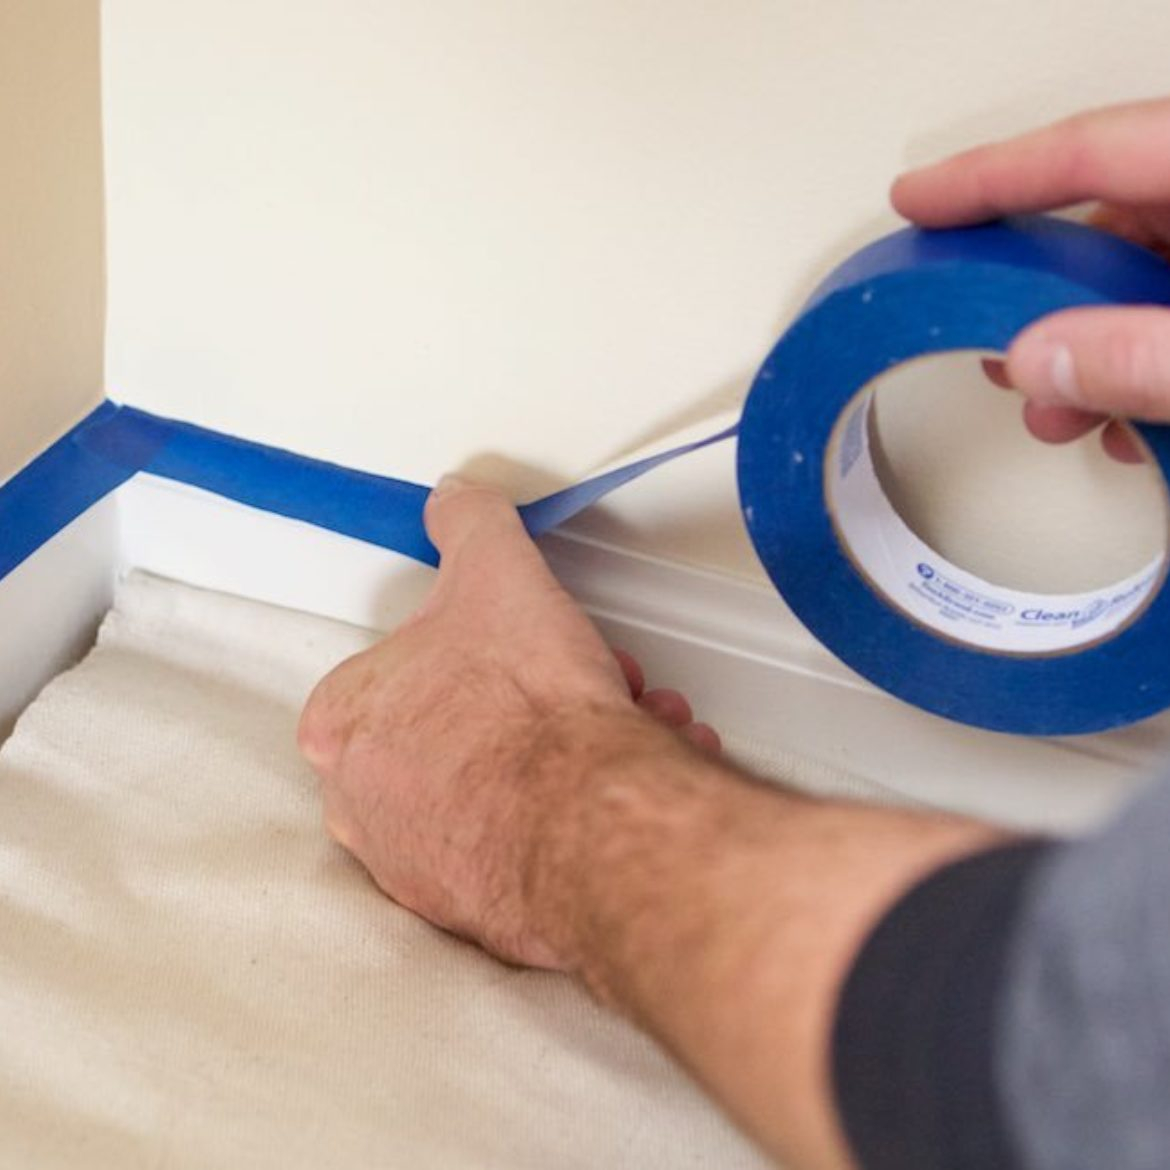
Start with a sound, clean surface. FrogTape recommends washing with a sponge and mild soap, allowing surfaces to become completely dry and dust-free, and testing in a hidden area. It also recommends shorter lengths for less experienced users so the tape can be applied without stretching. [3]
Press the masking edge into place using the method specified for your tape. Confirm that it suits the finish underneath, especially when working over a recently painted area. Follow the package’s waiting requirements for that situation and the paint manufacturer’s instructions.
If you are organizing a full room repaint, the room-painting sequence guide can help you plan the ceiling, walls, and trim before masking. Return to the exact tape instructions when deciding how to release each finished edge. Read the room-painting sequence guide.
Finish by checking corners and short strips around fixtures, then collect all removed tape. Keep the product details with your leftover paint. For the next touch-up, you will have a record of the coating, tape, and removal method used on that surface.