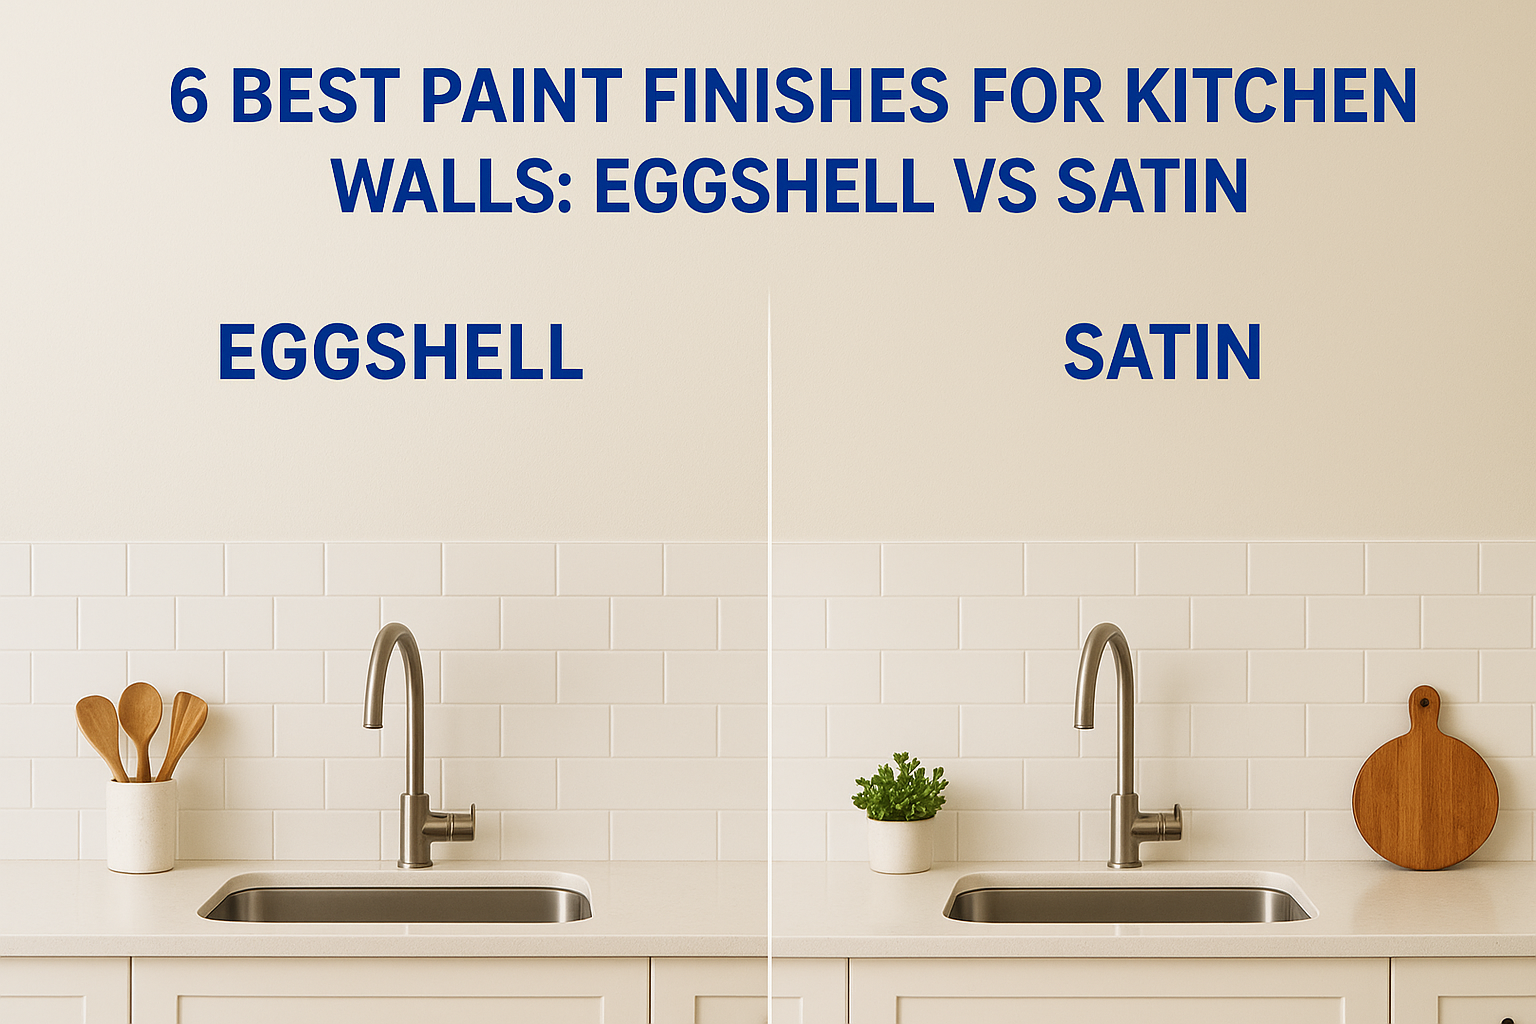
To compare eggshell and satin wall paint, test the actual finishes under the light that reaches your wall and check the cleaning claims for the specific products. A color chip helps narrow a color choice, but it cannot show how a painted surface will reflect a window, reveal a repair, or look beside the room’s trim. Choose the finish after comparing those conditions, rather than treating the sheen name as a complete performance specification.
This guide is for an interior repaint in a United States home. It focuses on a practical side-by-side selection process, with examples you can adapt to your room. The comparison is exploratory home-improvement advice, not a claim that one finish is currently more popular or that a particular sheen will perform identically across every paint brand.
Start with the difference the manufacturer actually describes
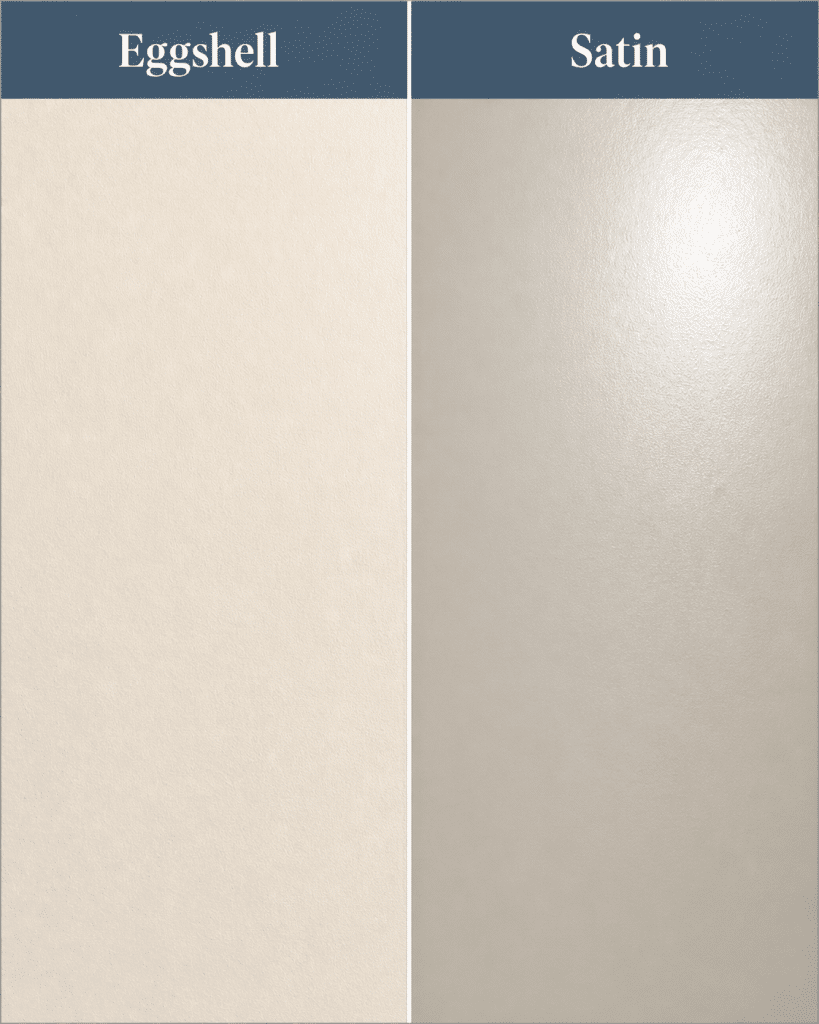
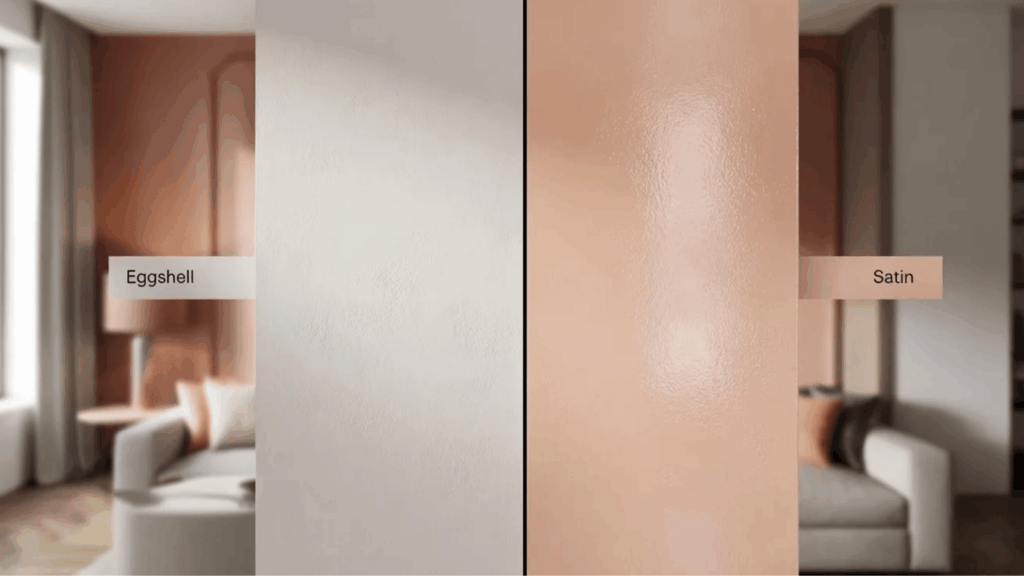
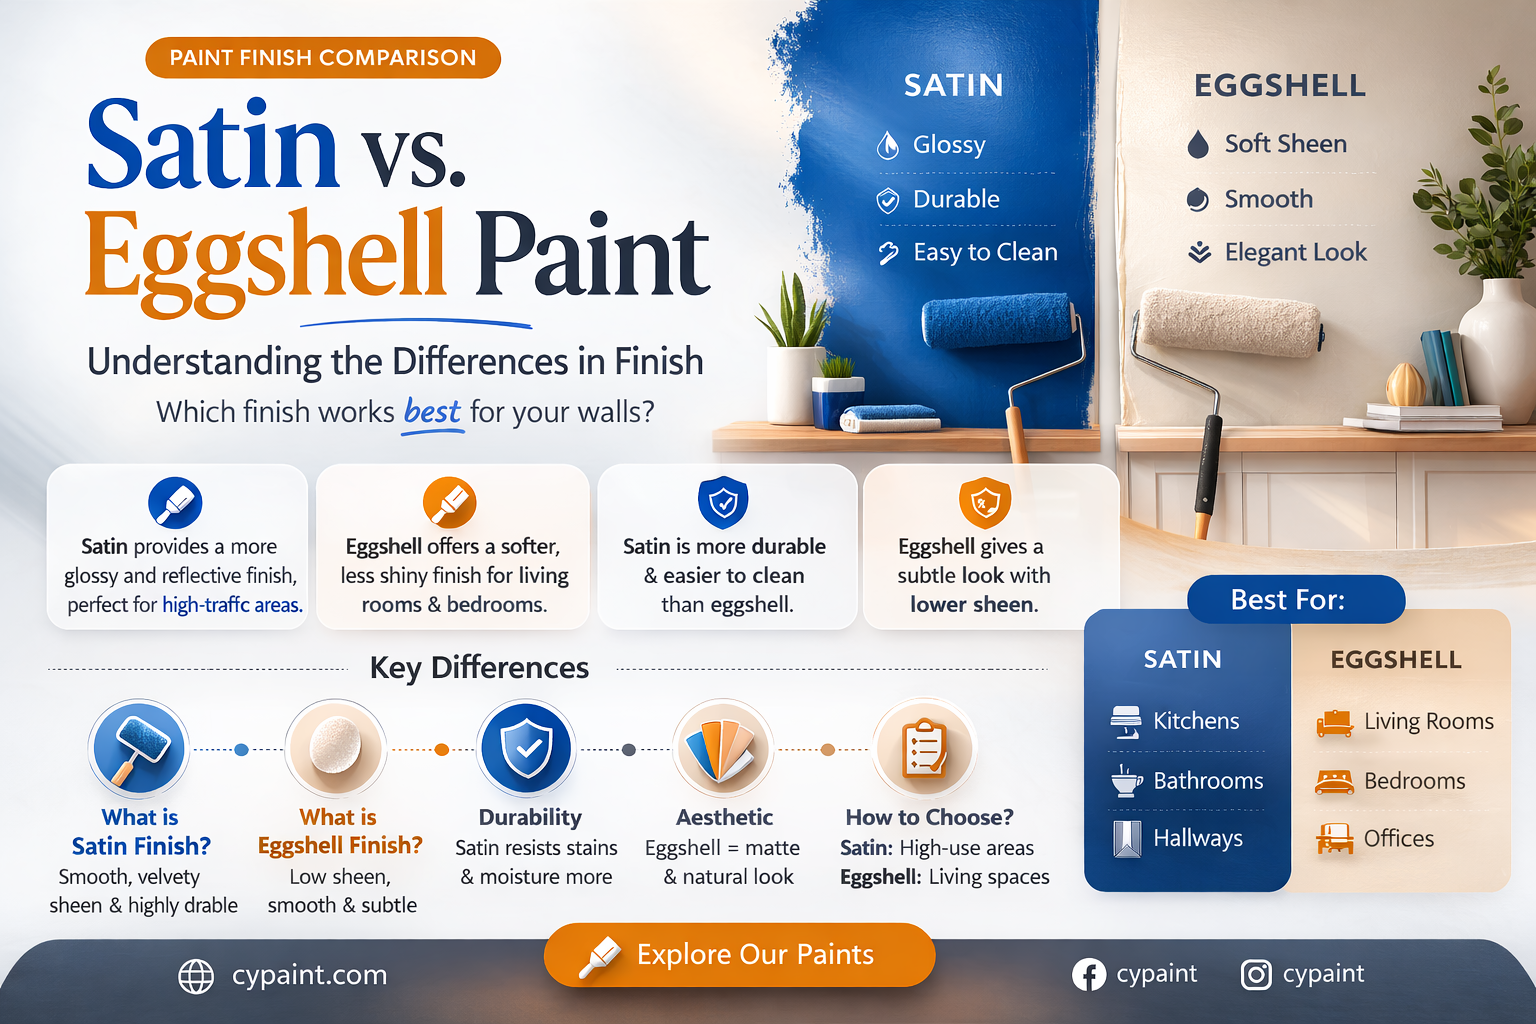
In its explanation of paint sheens, Sherwin-Williams places satin, low-lustre, and eggshell between semigloss and flat. It describes satin and low-lustre as having slightly more sheen than eggshell. That is a useful starting point: the comparison concerns reflected light as well as the color you see straight ahead.
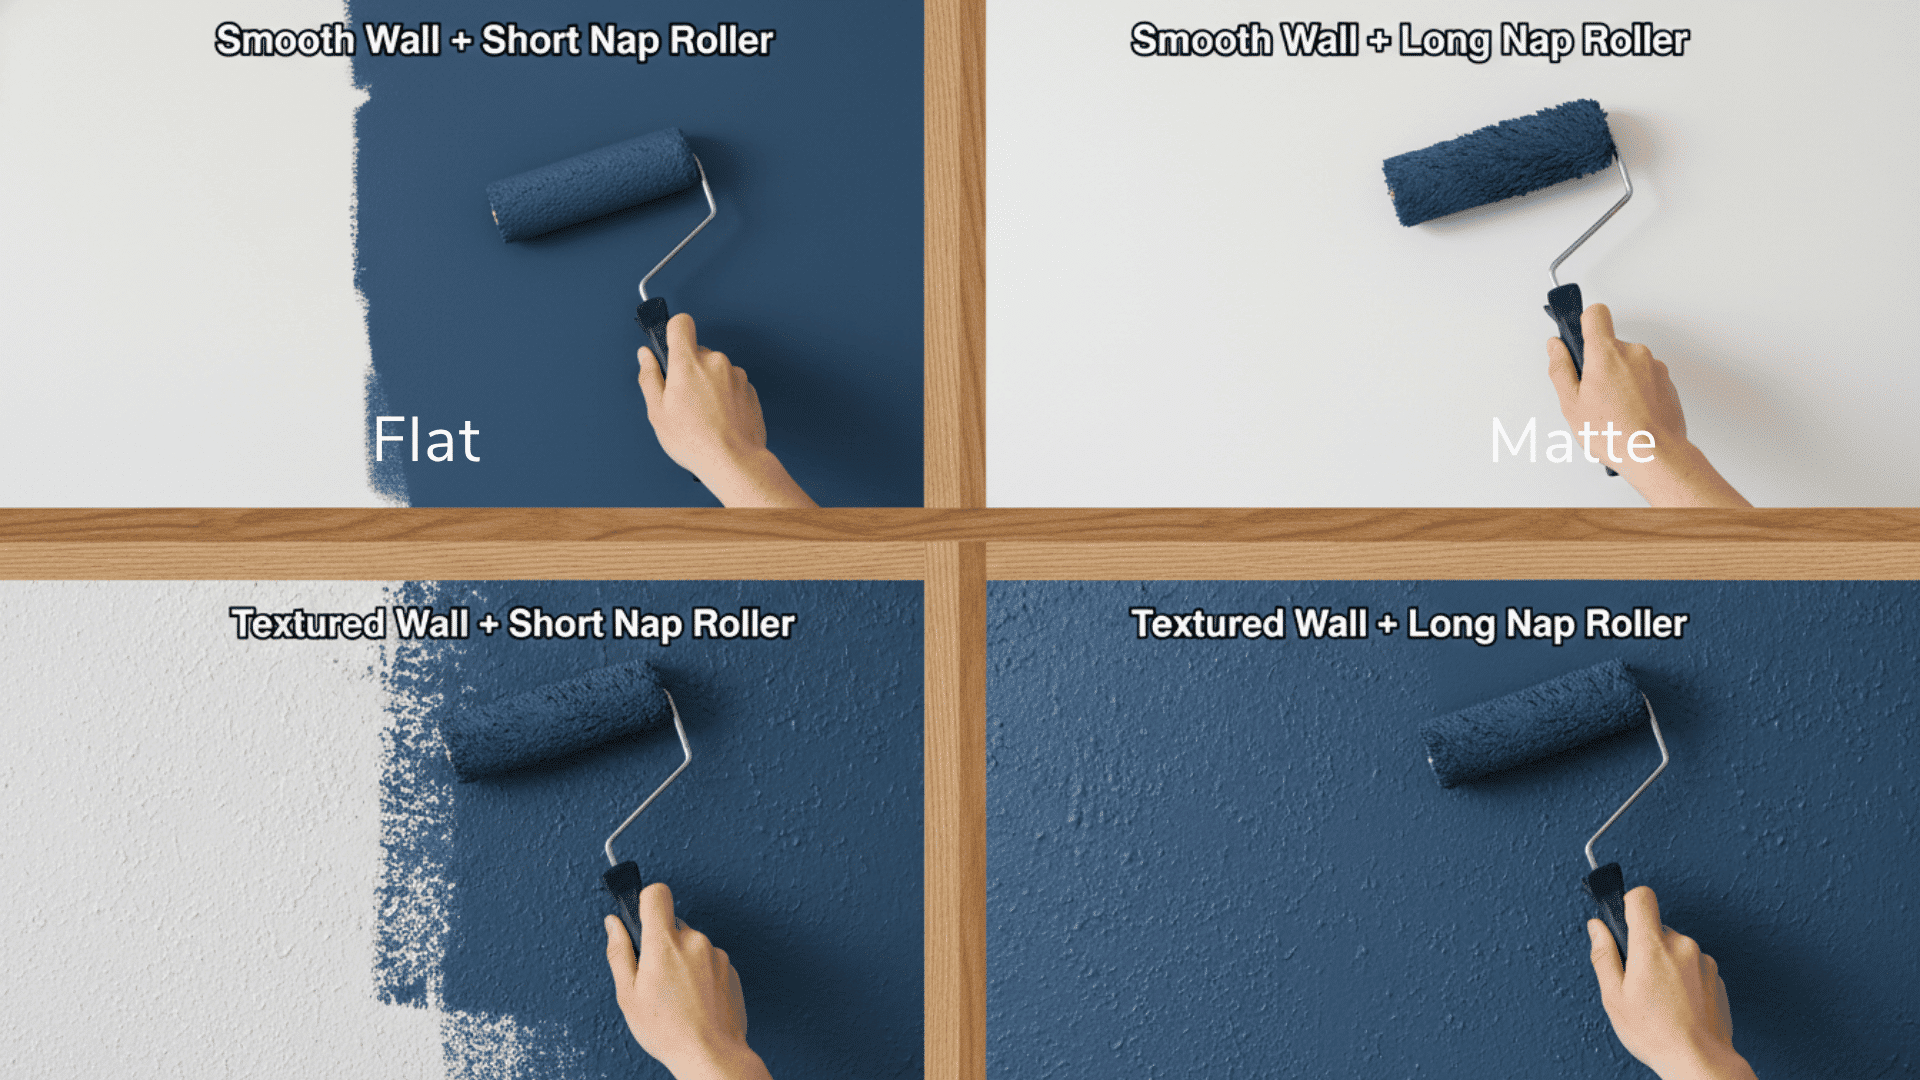
The same source explains the tradeoff around surface flaws. More reflective finishes draw attention to a surface, including its imperfections, while flatter finishes tend to conceal blemishes. That does not mean eggshell will erase a ridge or satin will make every wall look poor. It means the wall’s condition and the direction of light belong in the decision.
Write down the exact product lines and finish names you are considering. If the cans differ in both product and sheen, your test compares two complete coatings. Do not attribute every difference to “eggshell versus satin” when the formulation has changed too. Keep that distinction in your notes so that the result is useful when you buy the remaining paint.
Separate appearance needs from cleaning needs
List how the room is used before choosing a winner. A quiet bedroom wall behind a headboard has a different cleaning routine from a hallway beside a coat rack. The manufacturer’s paint-finish guide groups satin and Eg-Shel among options for areas prone to scuffs, including hallways and family rooms. Use that as an introduction to the options, then read the actual coating’s information.
Avoid turning a general sheen hierarchy into a guarantee. Sherwin-Williams’ longer explanation says higher-sheen surfaces are typically easier to clean, but it also identifies a formulated matte product as an exception to older assumptions about flat finishes. Product design matters. Ask which cleaning and maintenance instructions apply to the particular paint you plan to purchase.
For an illustrative hallway comparison, you might prioritize wiping occasional hand marks while keeping patched areas unobtrusive. For a bedroom with a large side window, reflected glare may matter more than frequent washing. These are different briefs. Neither one makes a sheen universally correct for every room with the same name.
Make a sample that represents the finished wall
Ask the paint supplier how to obtain a trial of the actual product and sheen. If a sample container uses a different finish or formulation, label it as a color test rather than a complete finish test. Otherwise, you could approve the color on a low-sheen sample and receive a noticeably different surface when the full coating is applied.
Prepare comparable sample areas or suitable sample panels according to the paint’s directions. Use the same underlying color, preparation, and application method for both finishes. Keep the coats and drying conditions consistent with each product’s instructions. Do not judge a wet patch against an already dry one or assume that dry-to-touch means ready for a cleaning test.
Label each sample with its product name, sheen, color, application date, and tool. If you use portable panels, move them to the walls where the coating would actually go. Treat them as a preview: a smooth board will not reproduce every ridge and repair in an existing wall. Where the wall’s texture is central to the decision, arrange an appropriate test on that surface before committing to the full room.
Compare both finishes from the doorway and along the wall
First look from the positions where you normally see the room: the doorway, the sofa, and the route past a window. Then look across the sample at a shallow angle. A finish that appears calm from the doorway may show a stronger reflection when you walk alongside it. This is a useful observation to record, rather than a defect to diagnose from a single photograph.
Repeat the comparison in daylight and with the room’s normal lamps on. Use the actual lighting setup instead of holding a bright inspection light against the paint and assuming that is the everyday experience. An inspection light can help reveal unevenness, but it answers a different question from how the room looks when occupied.
Check the sample beside the existing ceiling and trim. The difference between adjacent finishes can be part of the intended design. Sherwin-Williams discusses using contrasting finishes to emphasize architectural features. Decide whether you want the wall to recede quietly or to have a visible glow, and judge both options against that goal.
Test maintenance only when the product instructions allow it
Before testing cleaning, find the manufacturer’s curing and maintenance directions for each coating. There is no useful universal waiting period to apply to every paint in this comparison. Follow the approved timing, cleaner, and method; testing too early or using an unsuitable cleaning method would not give a fair indication of normal maintenance.
Use a controlled, inconspicuous trial rather than scrubbing a conspicuous part of the room. Record the method and inspect the dry result under the same light as before. Look for a change in appearance as well as whether the mark came off. The sheen explanation warns that some flat surfaces can burnish when rubbed; the broader lesson is to evaluate the actual finish after cleaning, rather than assuming a category name settles the result.
If you cannot perform a representative cleaning test, keep that item marked untested. A supplier’s product information can still guide the purchase, but it is different evidence from your own sample. Avoid damaging a newly painted wall just to produce a comparison result.
Choose the finish and preserve the exact specification
Review a short checklist: appearance in normal light, visibility of wall repairs, contrast with trim, the product’s cleaning instructions, and any maintenance trial you completed. Pick the coating that meets the room’s priorities. If both samples reveal a surface problem you find unacceptable, resolve that preparation question before painting the entire wall.
Keep the approved sample and a clear photograph of the can label with the room record. Our guide to recording paint colors and products for future touch-ups offers a place to store those details. A useful final decision names the product, color, and sheen together, and explains why that particular combination worked in your room.