A drywall repair can be level with the wall and still show up as a shiny or dull patch after painting. Before you buy a new gallon, stand in front of the dry wall, then look along it from the side. A mark that becomes much stronger when light skims across the surface may be a sheen or texture problem. A mark that looks like the wrong color from every normal viewing position deserves a separate check of the paint itself.
The fastest way to make a sound repair decision is to identify what the patch is doing under ordinary room light. You can then decide whether it needs a local correction or whether one consistent finish across the wall will be easier to blend.
Look at the dry wall from two directions
Let the coat dry for the time specified on its label before evaluating it. Start at the doorway under the light you normally use. Look again from near the end of the wall with daylight from a side window or a lamp that throws light across the surface. Note whether the mark changes when you move. Inspect the transition where the repair meets the old coating, as well as the center of the repair.
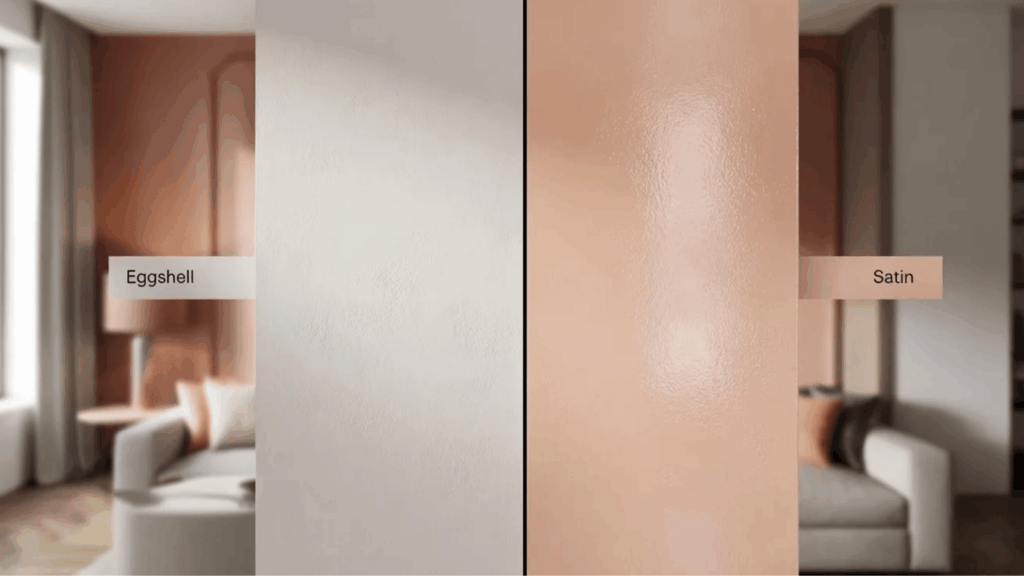
- A flat patch with a shiny or dull center: The new coating may reflect light differently from the surrounding wall. This is the kind of uneven gloss paint makers call flashing.
- A raised outline with a thin shadow: Look for a ridge or a change in surface texture. A new coat can even out the finish, but it will follow the shape underneath.
- A long band with relatively straight edges: Think about where one run of paint met another. A long band may be an application overlap instead of the outline of the drywall repair.
- A color difference that holds from several positions: Check the can for the exact product, color and sheen. A matching color name on a different product is a reason to test, especially if the wall has been painted more than once.
These observations narrow the possibilities. Several issues can occur together, especially where a smooth patch sits in an older roller texture. Sherwin-Williams lists porous material and uneven film thickness among the possible causes of flashing. [1]
Correct the surface before adding more paint
If you can see an edge casting a shadow, deal with the patch profile first. Inspect a short section with a light aimed along the wall. A narrow edge that stands proud and a wide area that is simply smoother than the surrounding roller texture are different problems. Judge the repair from the doorway again once the profile looks even up close. If the surface repair itself still needs work, start with the guide to choosing a drywall patch by hole size.
For a pre-1978 U.S. home, check for possible lead-based paint before sanding or otherwise disturbing the old finish. The EPA recommends using a lead-safe certified contractor for repair or painting work in these homes. [3]
If the repair exposes bare joint compound or other porous material, check which primer the coating maker recommends for that surface. Spot-prime that exposed area and observe the label’s drying and recoat instructions. Sherwin-Williams gives spot-priming patches as a way to even out porosity. If the repair is already sound and fully coated, use the visible condition and product instructions to decide whether primer is needed. The presence of a patch beneath the paint alone tells you little about what the topcoat can bond to now. [1]
Decide whether a touch-up will blend
Try a small touch-up when you have the original coating in usable condition, the original sheen is known, and the repair is isolated. Stir the paint as directed. Use an applicator that leaves a finish similar to the existing one. A small roller can help you reproduce the look of a rolled wall. Check the dry result before extending the test. If you get a soft difference at the edge, inspect it in the room’s usual light before putting more paint on the same spot. [6]
A wall with several visible repairs, a strip of uneven gloss, or a center patch lit by a large side window may be easier to finish from corner to corner. Address any uneven surface or bare compound first. Then apply a consistent topcoat across that wall, stopping at natural breaks such as an inside corner. Work in adjoining sections so a new pass meets an edge that is still wet. Dunn-Edwards recommends this wet-to-dry approach to prevent lapping and notes that another coat often evens out sheen. [2]
Check the repair under the light that revealed it
Imagine a hallway with one repaired anchor hole across from a window. If the circle shows only in afternoon side light and the surface is level, start with one controlled test and revisit it the following afternoon. If the repair disappears head-on but the test adds a second, wider ring, stop expanding the spot. Finish the whole wall to its corners after checking preparation and drying requirements.
Make your final check from the doorway and from the side after the coating has dried as directed. If the patch still shows, describe what you see before taking another step: a shadow, a difference in gloss, or a color mismatch. That description will guide the next repair much better than another coat applied by guesswork.